The 7 Stages Of Sports Flooring Installation
With rising costs of goods and services, limited budgets, and the emergence of numerous sports flooring contractors, general contractors, facility managers, and schools often opt for the cheapest possible athletic flooring option. However, selecting a professional and experienced contractor is crucial, even if it’s not the cheapest choice. The saying “cheap in, cheap out” applies to many gym flooring projects. A professional contractor will follow these steps to ensure your project is completed correctly and efficiently.
Stage 1: Planning Your Project with Sports Flooring Installers
Setting the Project Timeline
Most gym floor replacements occur outside of the school year due to the need for extracurricular space, gym classes, and basketball games. It’s essential to allow enough time for concrete preparation and maple acclimation—two factors that can delay projects, often due to environmental conditions. Installing flooring over wet concrete or without proper maple acclimation can result in floor failure.
 Pre-Bid Site Visits
Allowing contractors to assess the space before bidding minimizes unknowns and helps avoid unexpected costs. During these visits, details such as bleacher movement, loading logistics, dumpster placement, and overhead work are discussed. Contractors can also evaluate the waste factor—whether the space is a standard rectangular gym or contains irregular layouts and storage areas.
Choosing the Right Flooring Type
The activities in your space should dictate your flooring choice. For example, Broadway dancers require resilient flooring, while a preschool class does not need the same gym flooring system as a professional basketball team. Factors such as shock absorption and durability should be carefully considered. Consulting with an experienced contractor will help you select the most suitable flooring for your facility.
Stage 2: Preparing the Installation Site
A professional contractor will check the concrete slab to ensure it meets product tolerances. Additionally, testing the slab’s moisture content is critical. Installing flooring on a wet or uneven slab can void the manufacturer’s warranty. Since maple expands and contracts with humidity changes, both the National Wood Flooring Association (NWFA) and the Maple Flooring Manufacturers Association (MFMA) provide region-specific moisture guidelines to ensure a long-lasting floor.
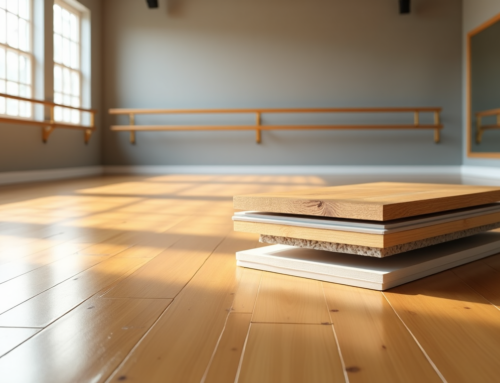
 Stage 3: Installing the Subfloor System
A high-quality subfloor is essential for performance and durability. Advances in testing and technology have significantly improved subfloor systems. The two primary types are:
- Sleeper systems
- Panel systems
Both types are padded and can be either anchored to the concrete or installed as floating systems without attachment points. Each system has unique advantages and applications. Key installation details such as spacing, anchor points, fasteners, and adhesives must adhere to the manufacturer’s specifications.
Stage 4: Laying the Hardwood or Other Sports Flooring
Maple flooring should be arranged in its final nail-up position while acclimating. Proper spacing of head seams is essential. Once acclimated, the manufacturer’s nailing pattern should be followed, as it is often specific to the subfloor system.
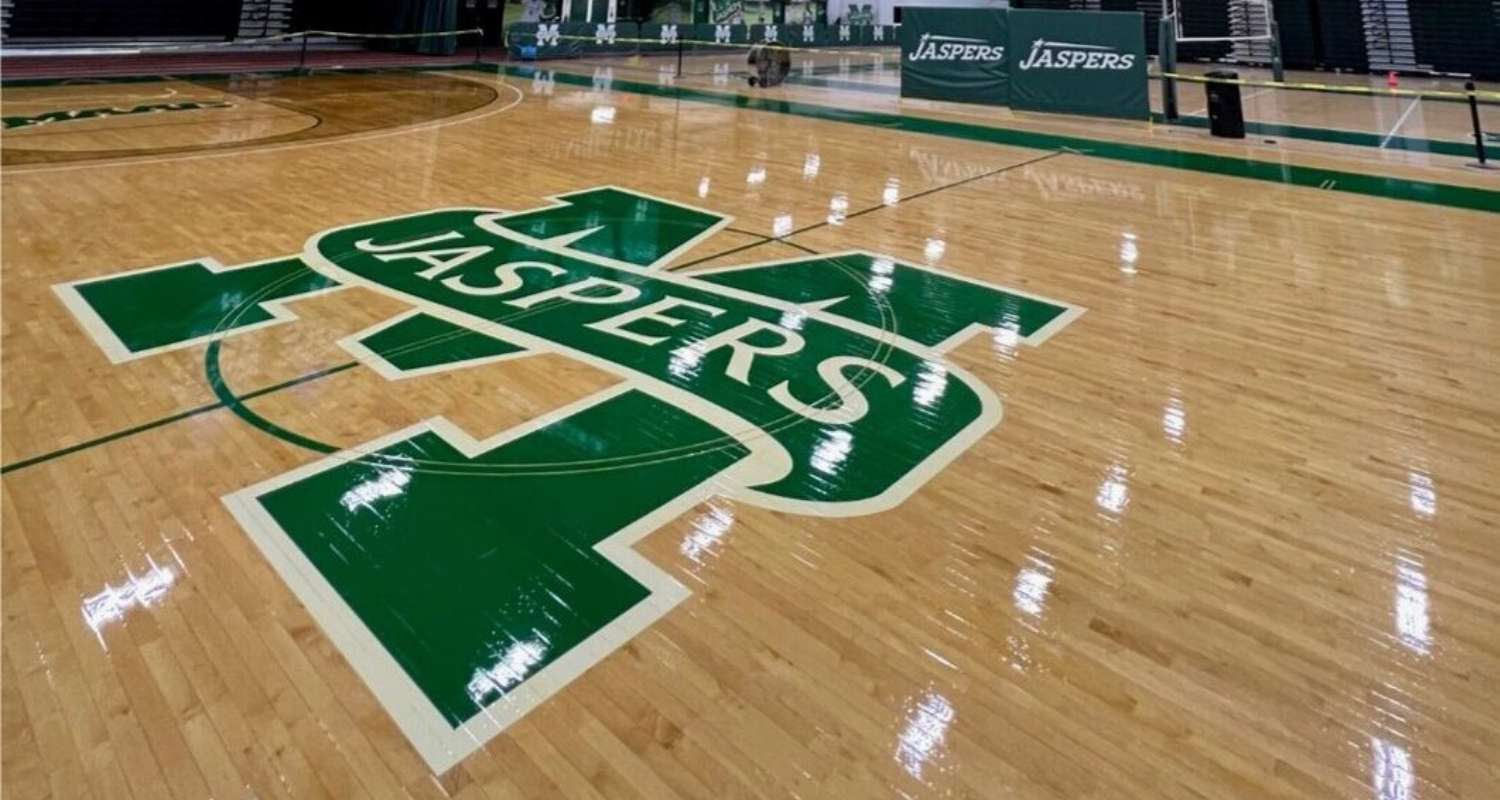
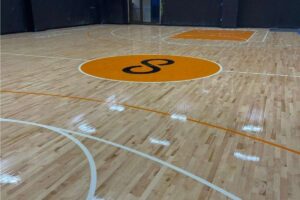 Stage 5: Adding Game Lines and Logos
An experienced contractor will guide you in selecting the correct game lines based on the level of competition—high school, NCAA, and NBA all have different specifications. Be cautious of contractors who can install flooring but lack expertise in taping and striping game lines, as this is a red flag. Ensure that the game line paint is compatible with the sealer and finish.
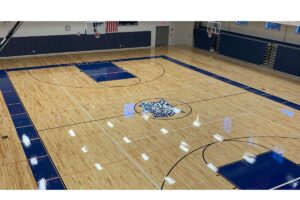
Stage 6: Applying Protective Finishes
Several leading brands manufacture sealers and finishes, and contractors may have differing preferences. The most critical factor is ensuring that the NWFA and MFMA-recommended number of finish coats is applied. Insufficient finish can cause traction issues, posing safety concerns.
Understanding cure times is also essential.
- Oil-based finishes take longer to cure and are more sensitive to heat and humidity.
- Water-based finishes allow multiple coats to be applied in one day due to their fast curing time.
Consult your contractor about proper cure times before finalizing the project schedule.
 Stage 7: Final Touches
The longevity of your gym floor depends on proper maintenance. Whenever possible, involve maintenance staff and facility directors in discussions about care and upkeep. Essential maintenance steps include:
- Regular dry-mopping
- Cleaning with an approved quality product
- Recoating as needed
Maintenance requirements vary based on usage, so there is no universal schedule. However, staying proactive will extend the lifespan of your flooring.
Receive Professional Sports Flooring Installation from the Experts at Endurance Flooring
Taking the time to discuss sports flooring installation stages with your athletic flooring contractor offers two key benefits:
- You gain a better understanding of the gym floor installation process.
- You ensure the contractor is accountable for every step.
Selecting the cheapest option often leads to issues, delays, and additional costs. Prioritize experience and references when choosing your contractor. Contact Endurance Flooring for expert guidance on planning and installation.